
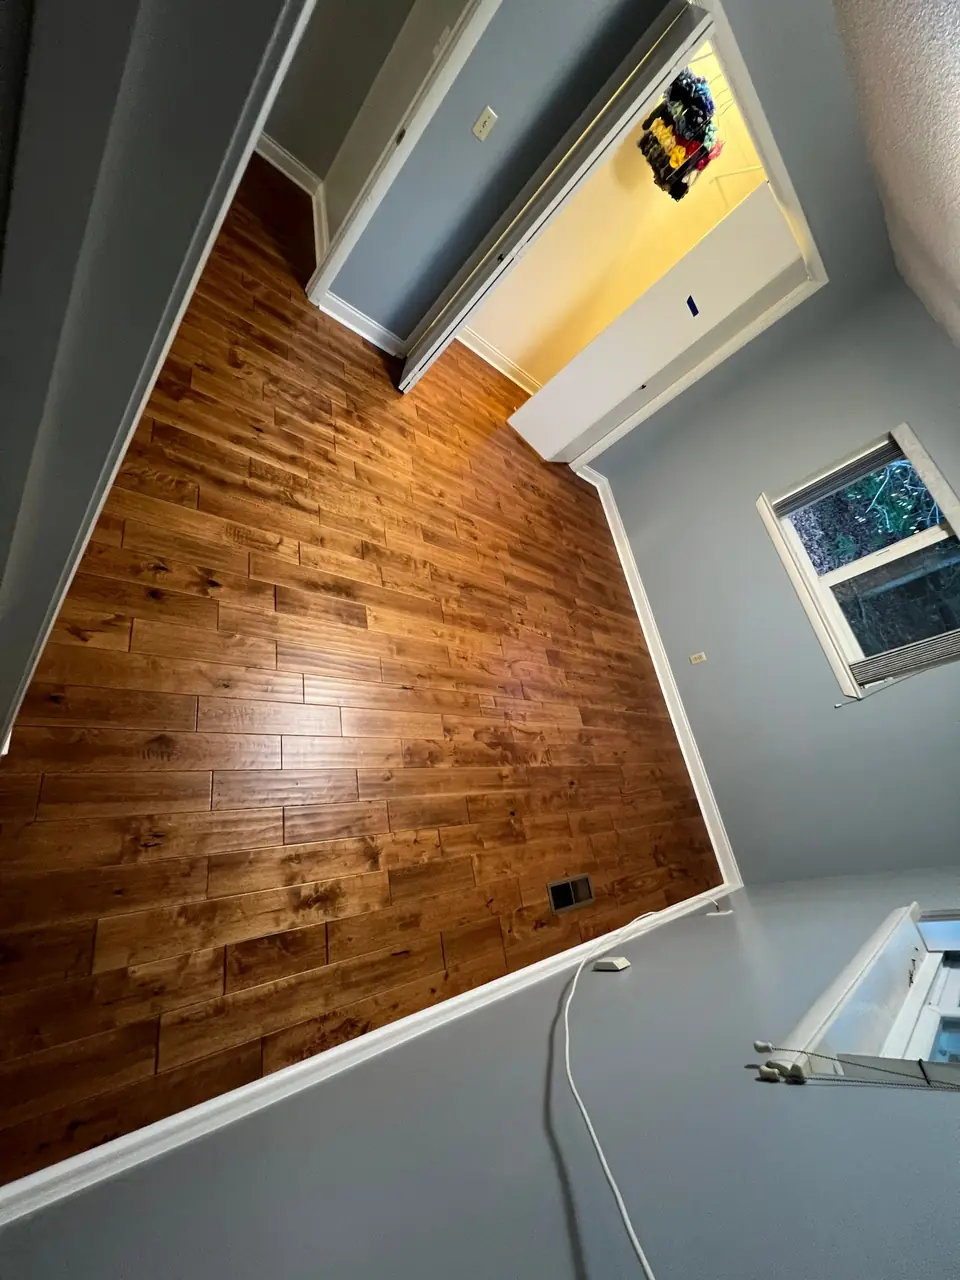
Flooring installation can look like an easy weekend project. Click-together planks and online videos make it seem simple, and sometimes it is. But many of the floor problems we’re called to fix in Farragut homes started with a DIY job or a rushed install. Gaps, peaked seams, squeaks, cracked tile and moisture damage are the usual suspects.
This guide gives you an honest comparison of professional and DIY work. You’ll see what the pros do differently, when doing it yourself makes sense, and which mistakes to avoid either way.
Quick answer: DIY flooring installation can work for one small room of click-lock flooring over a flat, dry subfloor. Hire a professional for tile, hardwood, large open areas, stairs, basements, kitchens and bathrooms, or anywhere the subfloor needs repair or leveling.
Want It Done Right the First Time?
Get a free in-home flooring estimate in Farragut.
Why Flooring Installation Matters as Much as the Floor
A great floor put in the wrong way won’t last. Most flooring makers have strict install rules. They cover how flat the subfloor must be, how much moisture is allowed, how wide the gaps at the walls should be, and how long planks should sit in the room first. That last step is called acclimation. It lets the planks adjust to your home’s air.
Miss one of these steps and you may void the maker’s warranty. Even a top-quality product can then fail years early. In East Tennessee, humid summers and damp crawlspaces make moisture rules extra important. A floor that’s fine in January can swell and buckle by July.
What Pros Do That DIY Flooring Installation Often Misses
The flooring itself is often the easy part. The real skill is in the prep and the finish work around the edges. Here’s what a trained installer handles that many homeowners skip or don’t know about. Each of these steps affects how the floor looks and how long it lasts.
Subfloor Prep
The subfloor is the layer of wood or concrete under your new floor. Pros find and fix soft spots, squeaks and high or low areas before anything goes down. They may screw down loose boards, grind high spots or pour a leveling compound into dips.
This step is easy to skip because you can’t see it once the floor is in. But it’s the main reason a floor stays quiet, tight and flat for years.
Moisture Testing
Concrete slabs and floors over crawlspaces can hold a lot of moisture. Pros use a moisture meter to check before they start. If levels are high, they add a vapor barrier, a plastic sheet that blocks damp from below.
Moisture under a floor can cause cupping, mold and loose seams. The EPA’s guide to mold and moisture explains why keeping damp out of your home matters so much.
Layout, Transitions and Trim
Good layout means planning which way the planks run and where to start. Done right, rooms look straight and doorways don’t end with thin slivers of flooring. It also keeps patterns lined up from one room to the next.
Then come the details. That includes clean thresholds, stair nosing, cutting door jambs so planks slide under, and putting back baseboards or quarter round. These finishing touches are what make a floor look professional.
The Right Tools
Pros bring undercut saws, wet saws for tile, long levels and moisture meters. Most homeowners don’t own these tools. Buying or renting them adds cost, and learning to use them well takes time.
Using the wrong tool often leads to chipped edges, crooked cuts and wasted material. That waste can quickly eat into any savings from doing the job yourself.
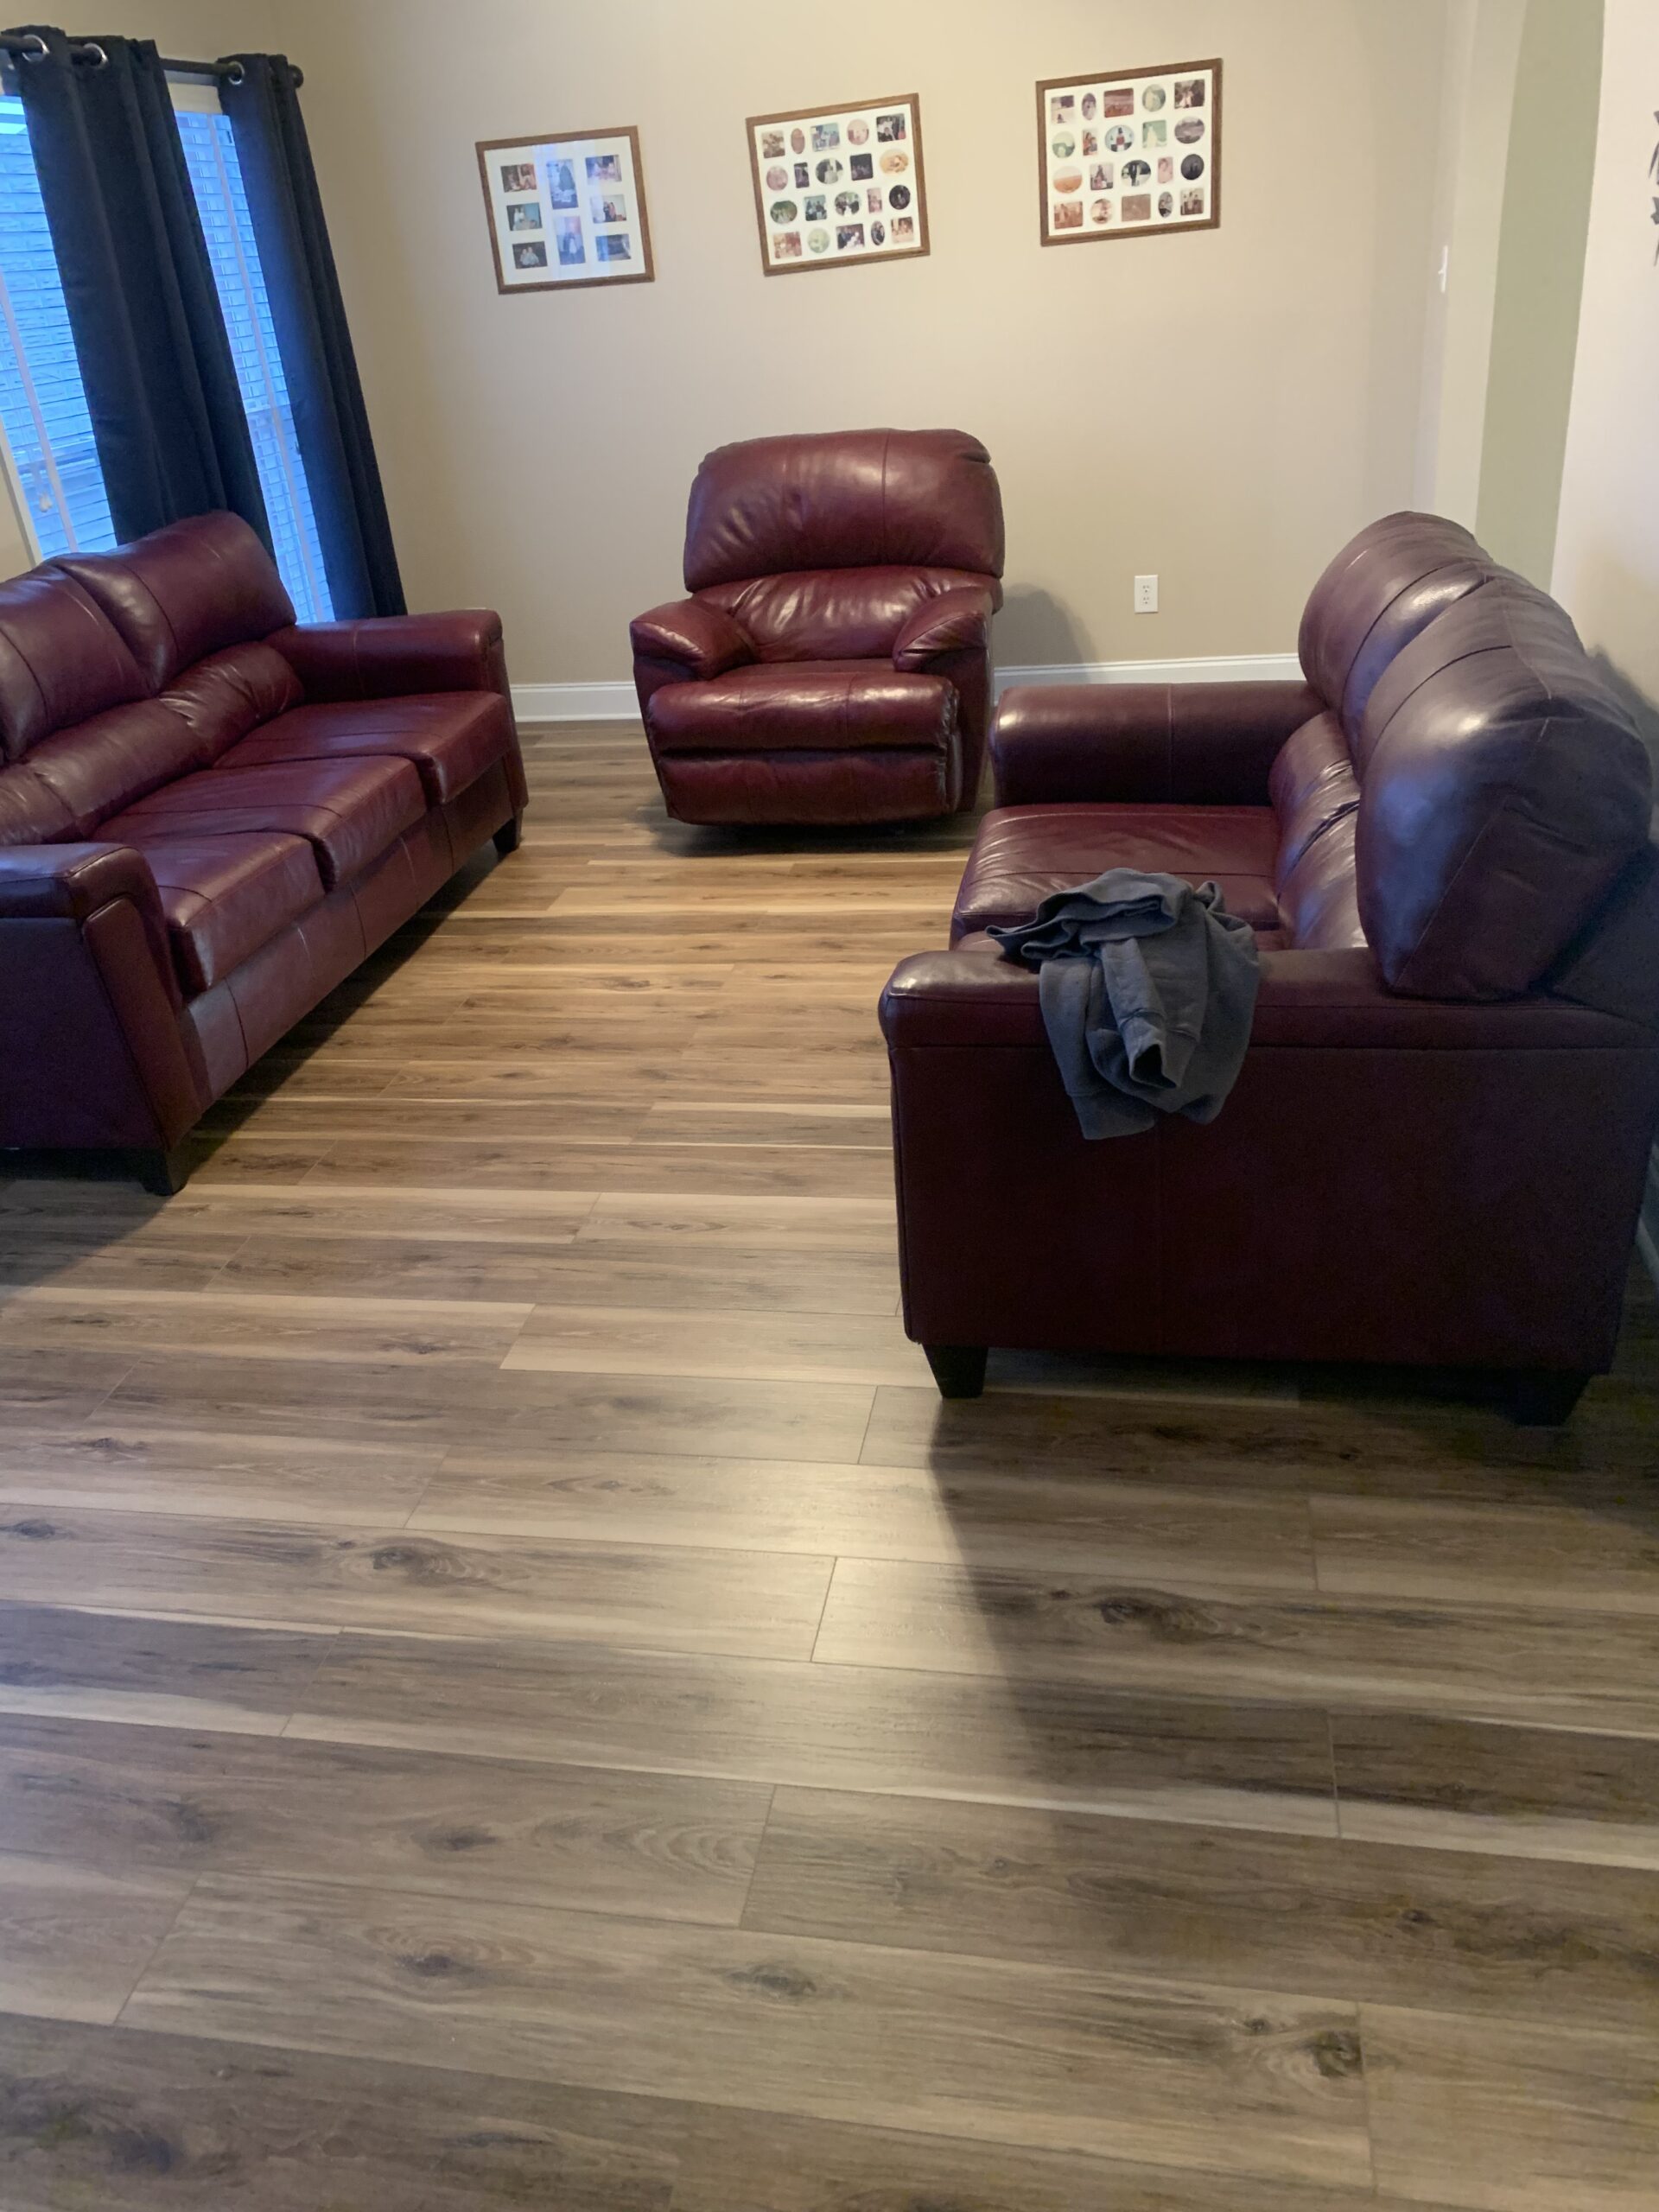
Clean transitions and straight layout lines are the mark of a professional install.
Professional vs. DIY Flooring Installation at a Glance
Here’s a simple side-by-side look at the trade-offs. Think about your skills, your schedule and how much risk you’re willing to take.
- Cost: DIY saves on labor. But tools, wasted material and fixing mistakes can eat into the savings.
- Time: DIY usually takes much longer, especially with moving furniture and doing trim.
- Quality: Pros handle prep, layout and transitions that make the finished floor look right.
- Warranty: Professional flooring installation helps protect the maker’s warranty, since it follows their rules.
- Stress: A pro handles the heavy lifting, the mess and the problems that pop up halfway through.
For many busy families, time is the biggest factor. A job a pro finishes quickly can take a homeowner several weekends, with rooms out of use the whole time.
When DIY Can Make Sense
DIY isn’t always a bad idea. For the right project, it can save money and feel rewarding. It tends to work best when these things are true:
- It’s a single small room, like a bedroom or home office.
- You’re using floating click-lock LVP or laminate.
- The subfloor is already flat, dry and solid.
- You’re comfortable measuring, cutting and doing trim work.
If all four boxes are checked, DIY may be a good fit. Read the maker’s install guide from start to finish before you buy anything. Follow it closely so your warranty stays in place.
When to Hire a Pro for Flooring Installation
Some jobs are much harder than they look. Mistakes here often mean tearing out the floor and starting over. Call a pro for:
- Tile, natural stone or nail-down hardwood
- Kitchens, bathrooms, laundry rooms and basements
- Stairs
- Large open floor plans where long runs need careful planning
- Any sign of subfloor damage, squeaks or moisture
Tile is the most common DIY regret we see. If you’re thinking about it, read our guide to tile flooring installation in Farragut first. It explains each prep step and why it matters.
6 Common Flooring Installation Mistakes
Whether you hire a pro or do it yourself, watch out for these problems. They’re the ones we fix most often.
- Skipping acclimation: Planks that don’t adjust to the room can shrink or swell later.
- No expansion gap: Floating floors need a small gap at the walls. Without it, they can buckle.
- Ignoring dips: Uneven subfloors cause clicking, bounce and broken joints.
- Missing moisture tests: Damp slabs can ruin even waterproof floors from below.
- Poor transitions: Rough edges between rooms become trip hazards.
- Cutting corners on trim: Gaps at baseboards make the whole job look unfinished.
Avoiding these mistakes protects your money and your floor. It also keeps your home safer, especially for kids and older family members.
Questions to Ask a Flooring Installer
Not every installer works the same way. Ask these questions before you sign so you know what’s included.
- Is subfloor prep and leveling included in the estimate?
- Who moves furniture and removes the old floor?
- How do you handle transitions, baseboards and door trim?
- Do you test for moisture before you start?
A clear, written scope makes it easy to compare quotes. It also prevents surprise costs halfway through the job.
Be wary of a quote that seems much lower than the rest. It may leave out prep, trim or haul-away. Ask what’s missing before you decide. The cheapest bid often turns into the most expensive floor once repairs are added in.
Professional Flooring Installation in Farragut
American Home is family-owned and has helped East Tennessee homeowners since 1997, with more than 15,000 projects completed. We handle flooring installation for luxury vinyl, laminate, tile, hardwood and carpet in Farragut and throughout Knox County.
Start with a free in-home estimate. We’ll check your subfloor, test for moisture and help you pick the right floor for each room. Financing options are available for qualified homeowners. Learn more about our flooring installation services, read our guide to durable flooring for kids and pets, or try our cost estimate calculator.
Flooring Installation FAQs
Is DIY flooring installation worth it?
It can be for one small room of click-lock flooring over a flat, dry subfloor. For tile, hardwood, stairs, kitchens, bathrooms and basements, a pro usually saves you time and costly mistakes.
Can a bad install void my flooring warranty?
Yes. Most makers require their install rules to be followed, including subfloor flatness, moisture limits and expansion gaps. Skipping them can void the warranty.
What is acclimation?
Acclimation means letting new flooring sit in the room before it goes down. It lets the planks adjust to your home's temperature and humidity, so they don't shrink or swell later.
Do I need to remove my old floor first?
Often, yes. Removing the old floor lets the installer check and fix the subfloor. Some floating floors can go over a flat, solid old floor, but it depends on the product.
How long does professional flooring installation take?
It depends on the size of the area, the type of floor and how much prep is needed. Your estimate should give you a clear timeline before work begins.
Ready for New Floors?
Schedule your free estimate with American Home.